
How to add a click-to-call button to your site
Adding a click-to-call button on your Website will give your customers an option to immediately start dialing your phone number by clicking the click-to-call button. Below is the step-by-step instruction on how to add it to your site.
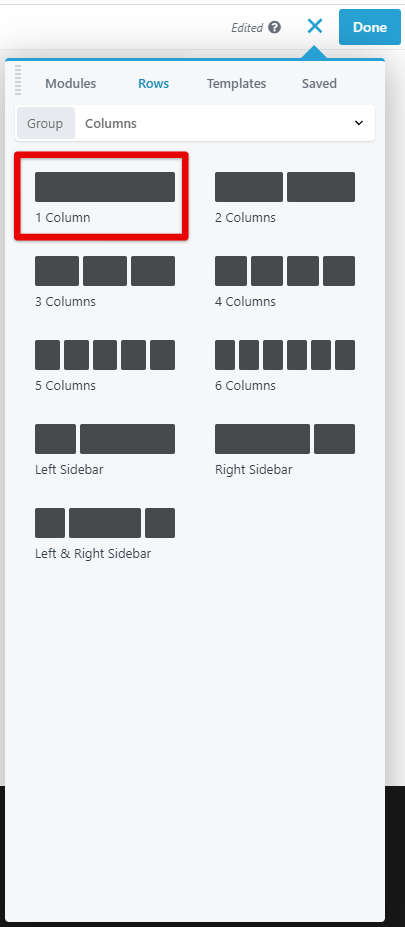
Step 1:
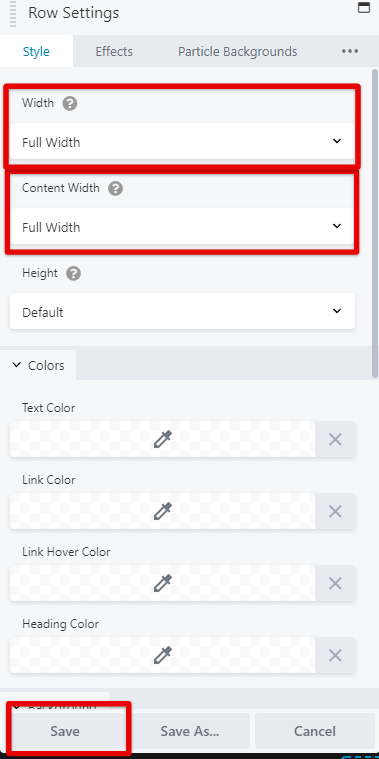
Add a row before your footer, drag and drop it on your desired location > Row settings > Style Tab
The width value should be "Full Width" and the Content Width value should be "Full Width" as well. (See screenshot below)

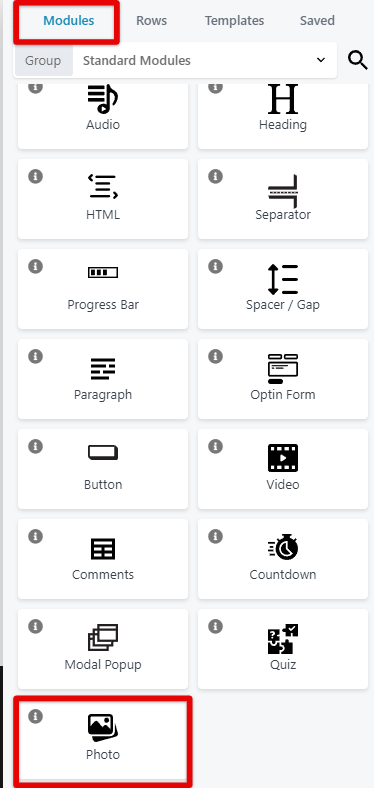
Step 2:
Under Basic Module, add Photo Module
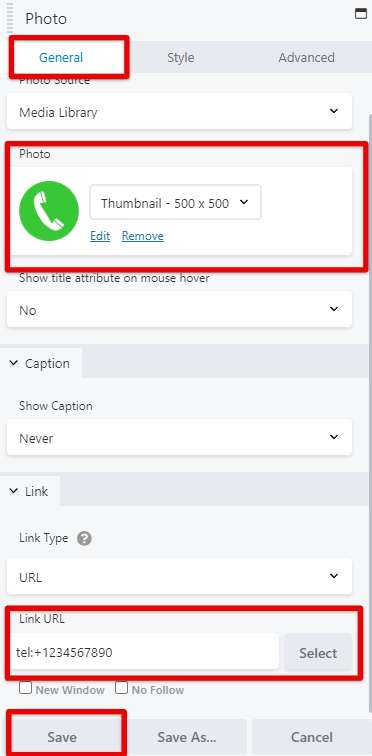
Go to Photo Settings.
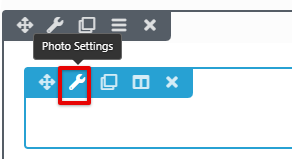
Add the Photo that you wish to use as well as the Link URL and the value should be tel:yourphonenumber.
Note: The file type of the photo that you need to upload should be .PNG and make sure that the background is transparent.
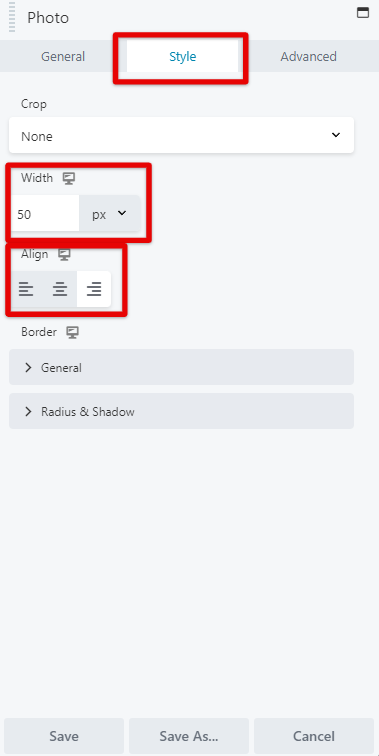
Step 3:
Change the size of the photo to 50px or your desired size and align it to the right or left.
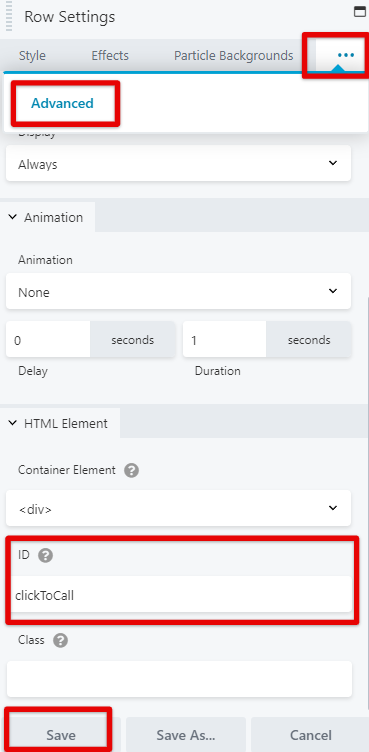
Step 4:
Set a unique ID to your Click-to-call button. Advanced > HTML Elemet > ID > Set your ID > Save.
Note: The id name is case sensitive! The id name must contain at least one character, cannot start with a number, and must not contain whitespaces (spaces, tabs, etc.).
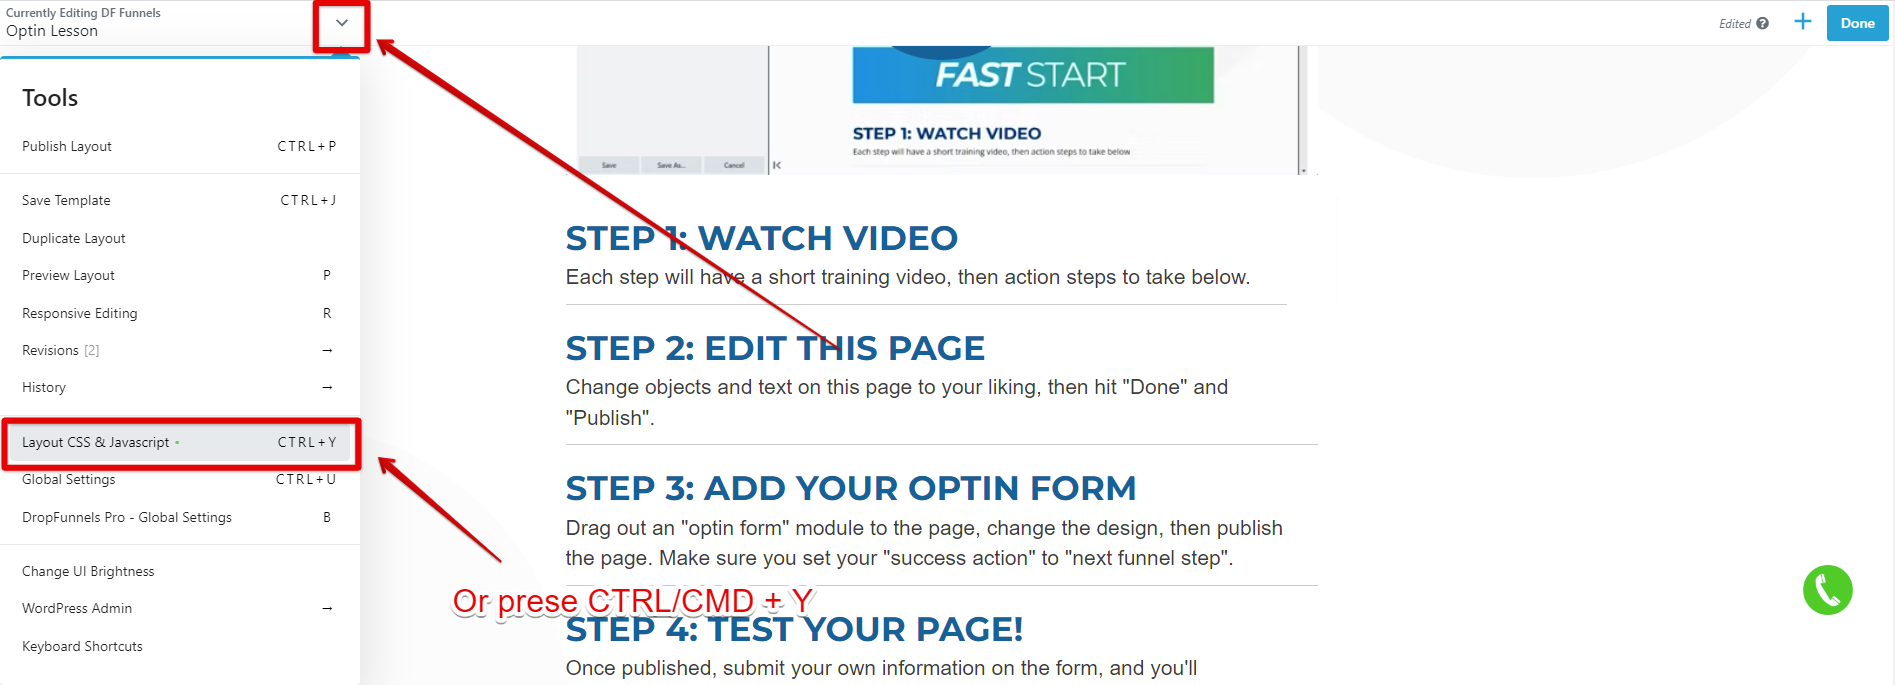
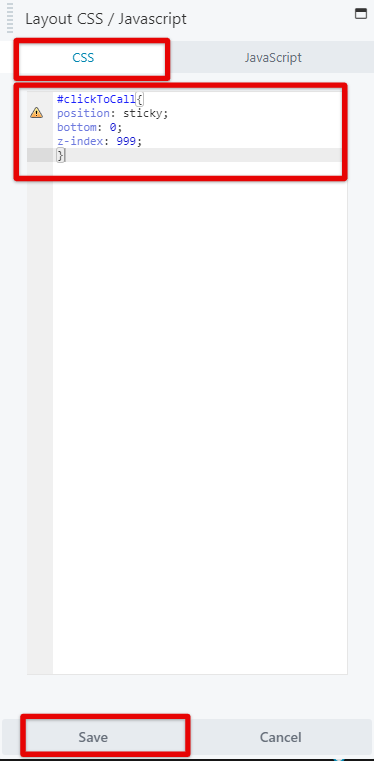
Step 5:
Go to Layout CSS & Javascript.
Add the CSS Code below:
#clickToCall{
position: sticky;
bottom: 0;
z-index: 999;
}
After adding the code Save it.
Step 6:
Advanced > Margin > Top = -200 and Bottom = -200 > Save.
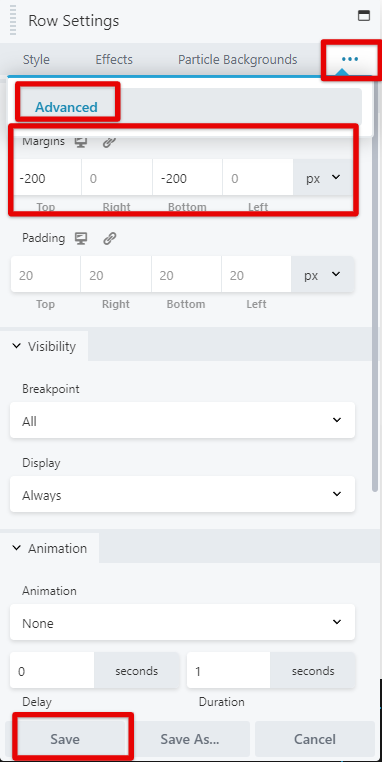
Important note: After adding the margin value you will notice that it will be hard to find the row settings of this click-to-call button. If you can't find it on editor mode you just need to right-click on the content/module and the row setting should appear.
Step 7:
Save and Publish.
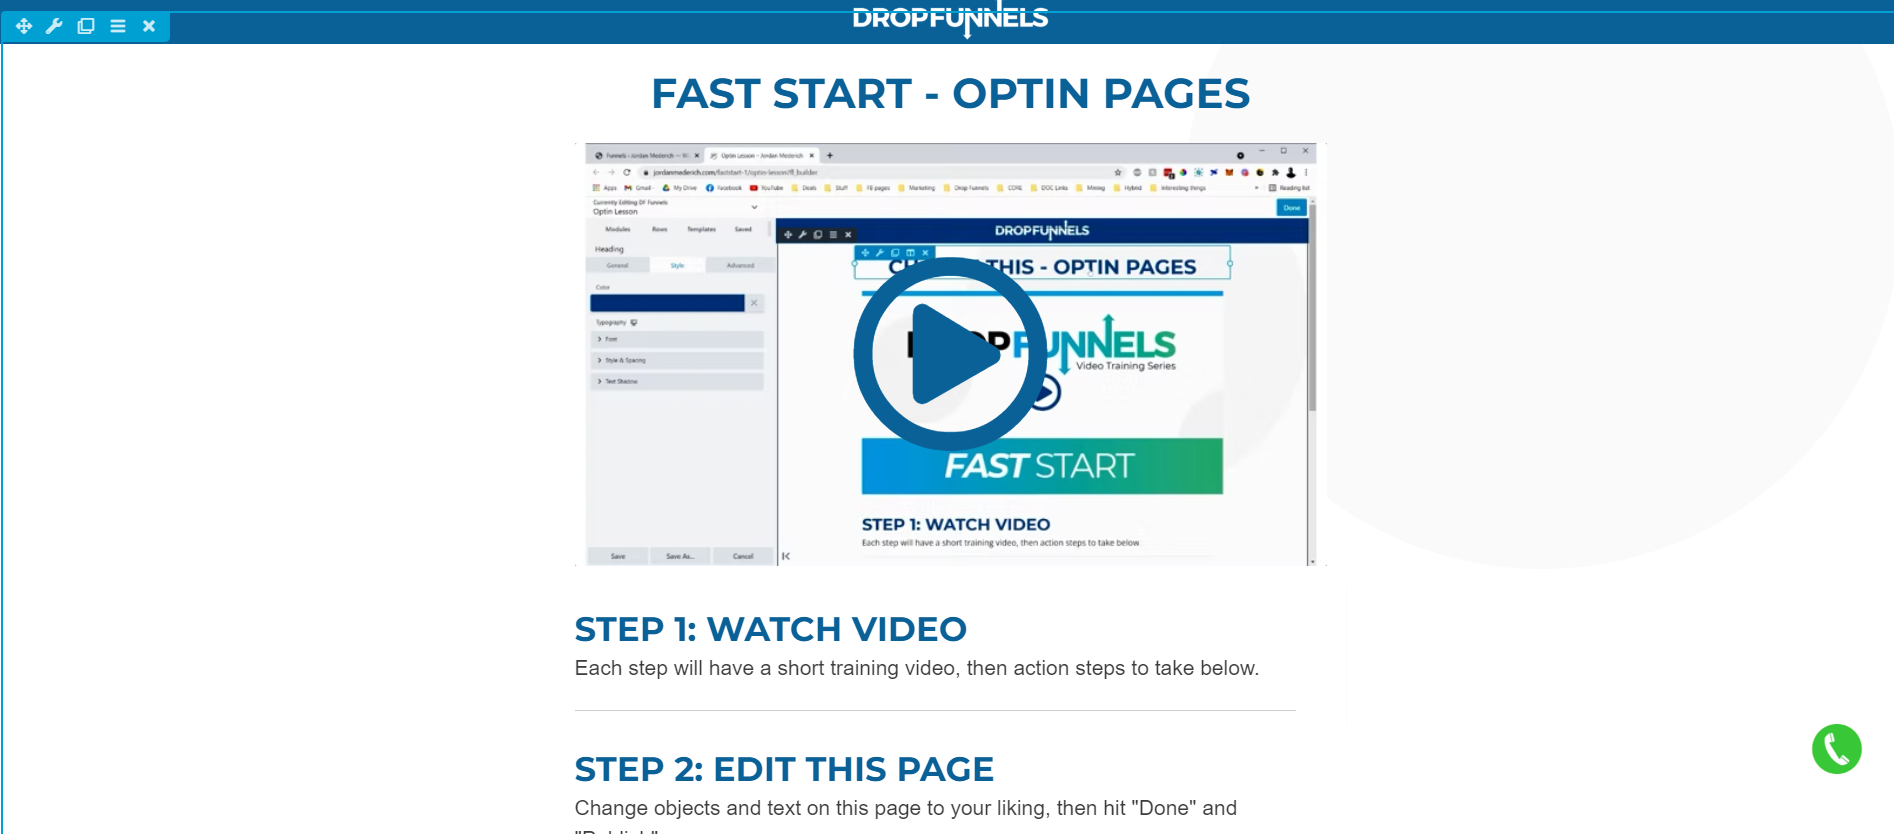
After publishing it should look like the image below.
Need assistance? Feel free to submit a ticket and DropFunnels Support Team will be happy to assist you!