Zapier Filters
At first people generally use Zapier to do very basic tasks and that quickly leads to more complicated tasks that require filters.
A filter will take the information we send to Zapier and ensure the task only fires when a particular value or set of values is seen.
Step 1: Create a Trigger + Add Filter
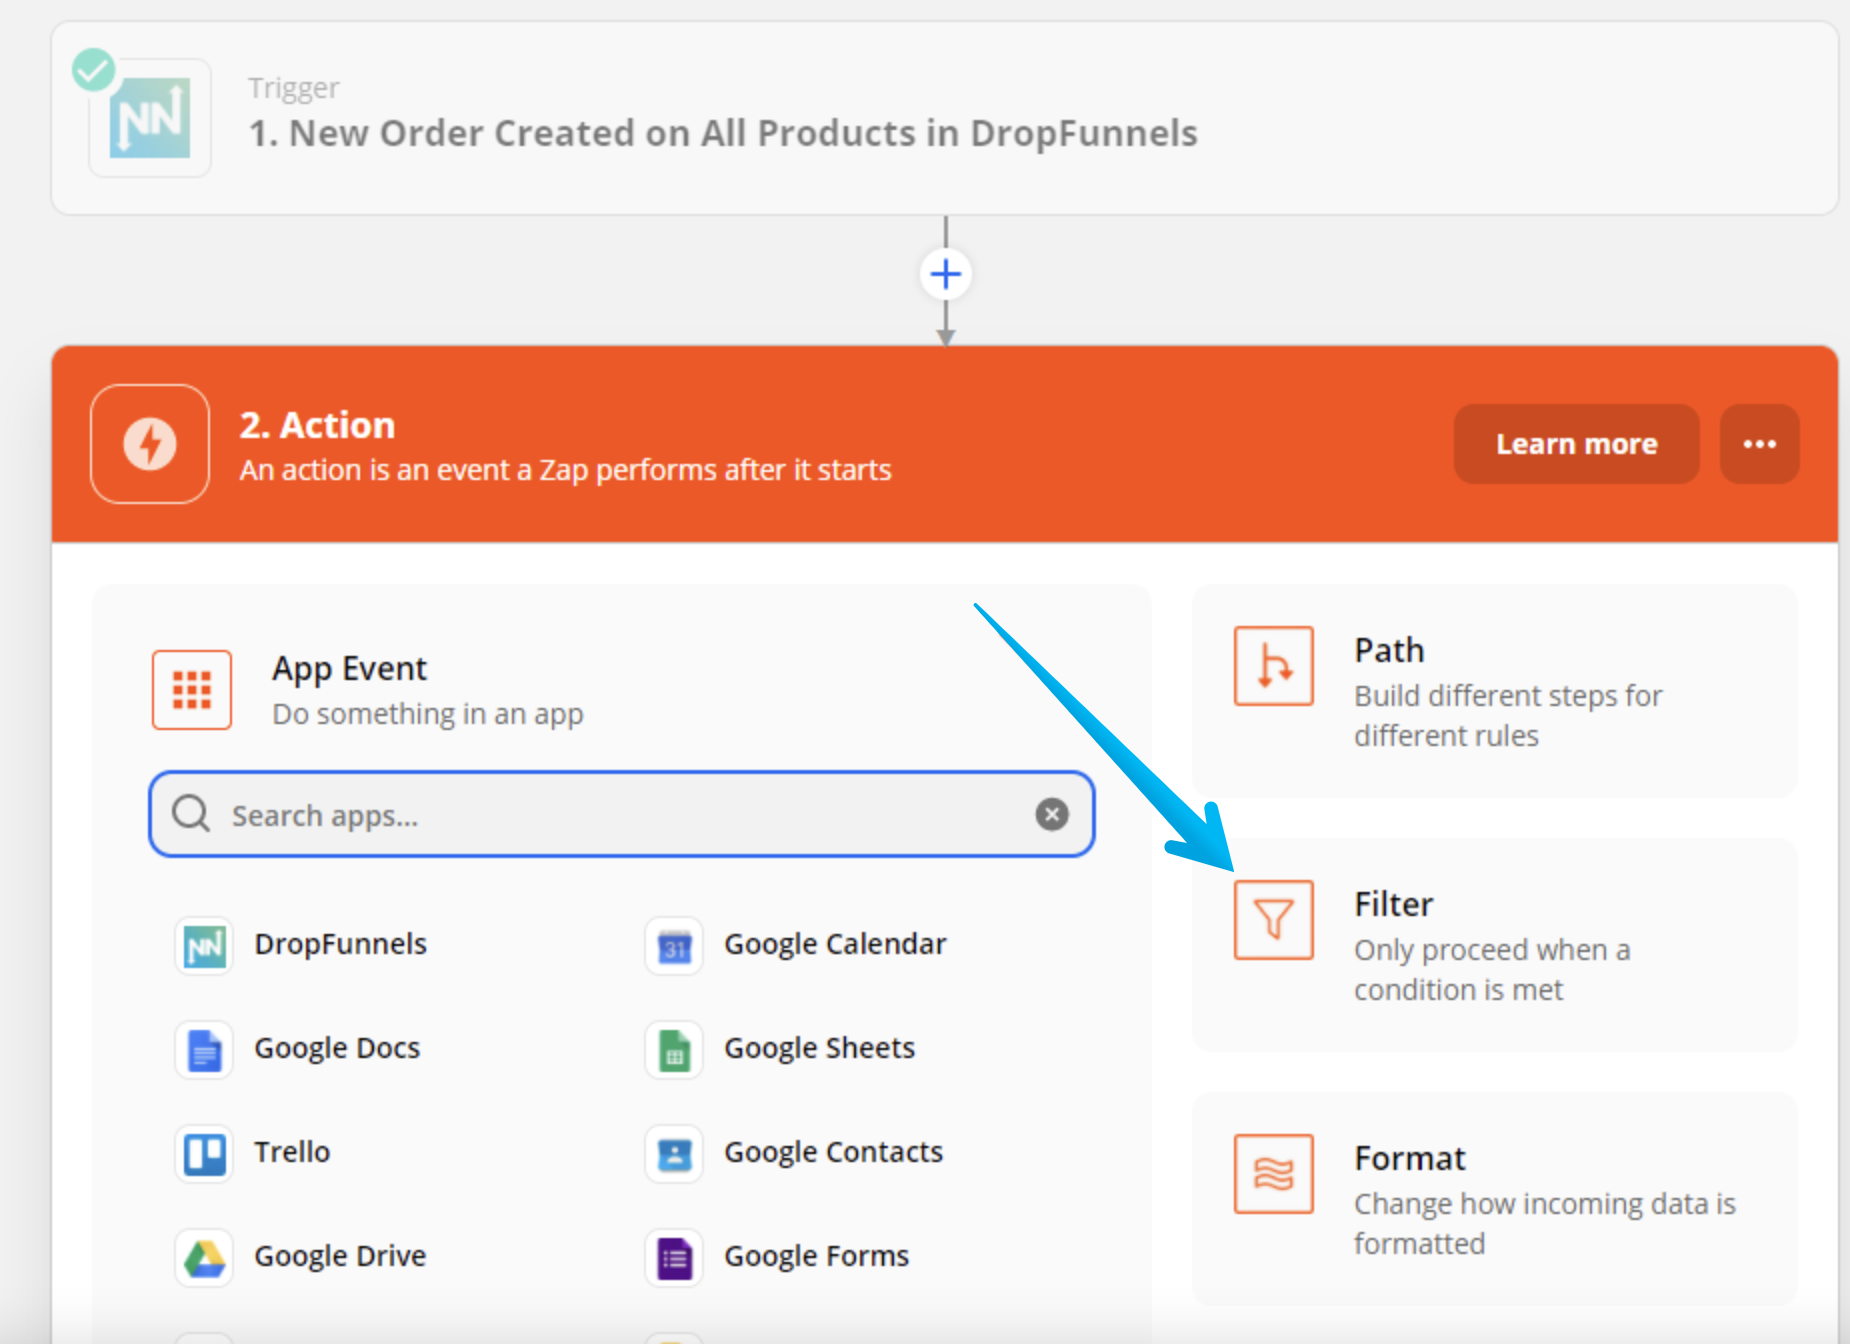
Go through the normal method of creating a trigger on Zapier. Once the trigger is completed you'll be prompted to add an action, click the Filter option.

Step 2: Only Continue If selection
To create the filter you'll need to let Zapier know what to, or to not pass through.
Within the Field section click "Show All Options"
The main fields you'll use are:
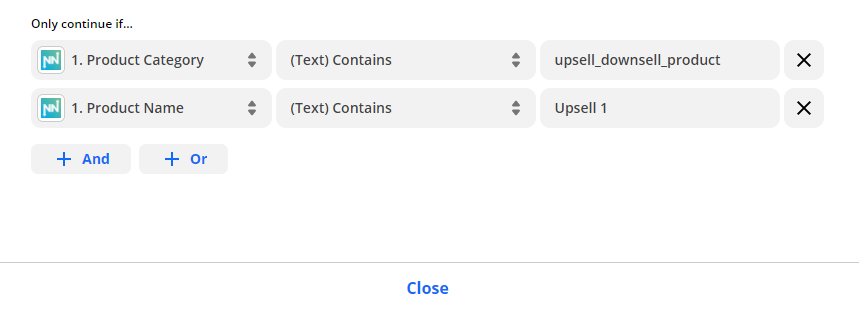
Product Category
This can have the following values:
main_product
order_bump_product
upsell_downsell_product
This category shows the part of the checkout process used to purchase.
Product Name
Set within control panel
You'll need to use the "Text Contains" option and set the desired results.

Step 3: Test Filter
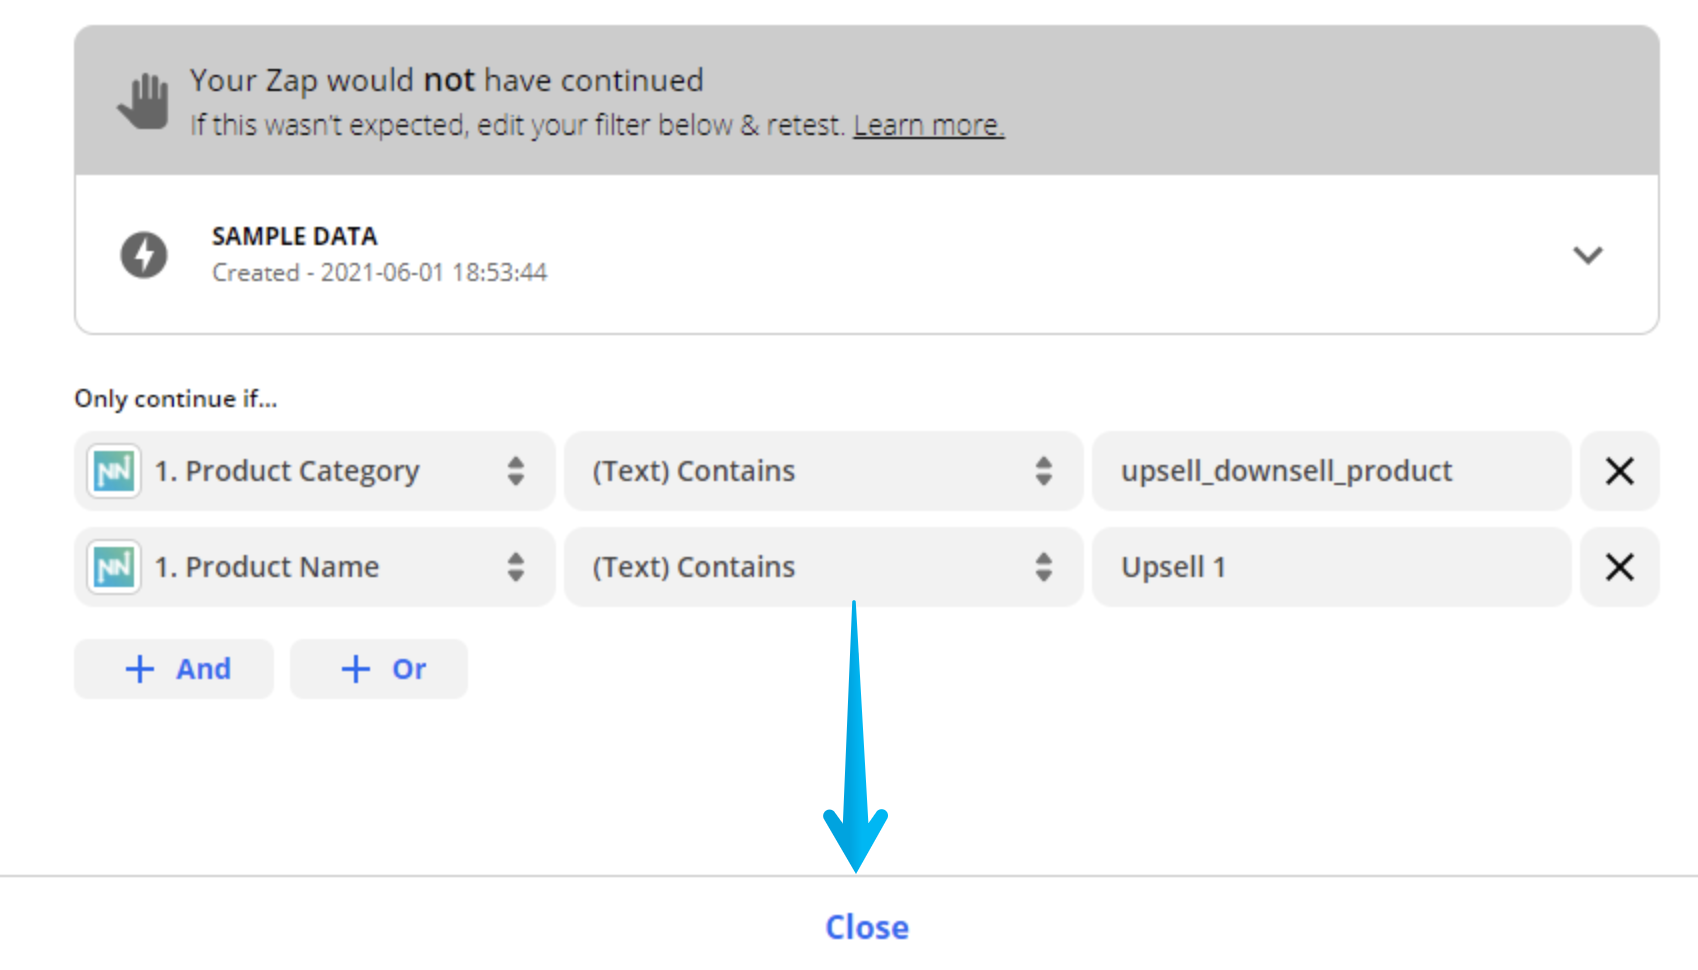
Unless your sample data contains the exact data you are filtering on you will receive a message to tell you your Zap would not have continued.
That is normal and you can click to continue.
You now have a filter in place and can choose your output action


