
How to Integrate Aweber to DropFunnels
AWeber is one of the fully supported Email Marketing of DropFunnels. You can build your capture leads using Dropfunnels' Opt-in form or Checkout form and you can integrate AWeber to send email confirmation/follow-up emails. Below are the steps on how you can integrate AWeber on DropFunnels.
Integrating AWeber to your Opt-in form
Important Note: We recommend using only one Opt-in form per page.
1) From the DropFunnels Dashboard click funnels (1) and then select the Funnel you'd like to work on (2).


2) From the Funnel Flow Tab click to edit the Funnel Step you'd like to add the autoresponder to
The funnel flow tab shows all the current funnel steps of your funnel. You can either create a new step or use an existing step.


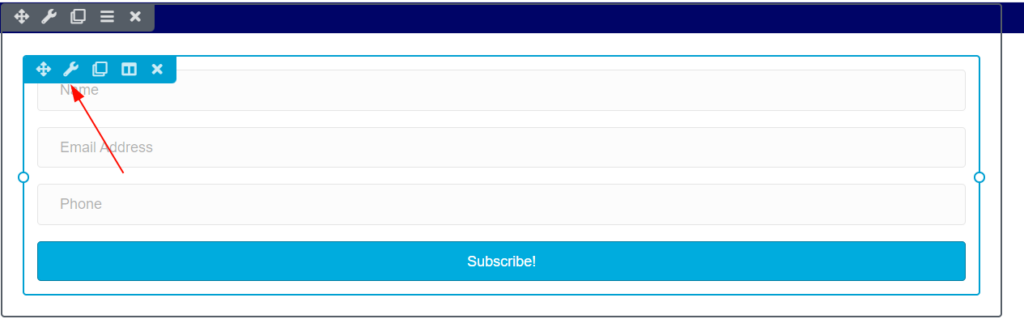
3) Edit your Opt-in Settings (or add a new Opt-in Module)
Mouse over your Opt-in Module (or add a new Opt-in Module ) and then select "Opt-in Form Settings"
4) Select the service you'd like to use
From the drop-down you'll need to select your autoresponder service, the account drop-down will also allow you to add a new account or use an existing account if you already have an account setup.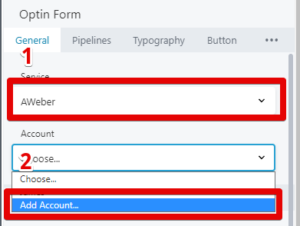
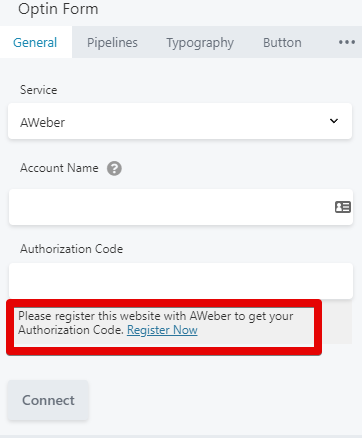
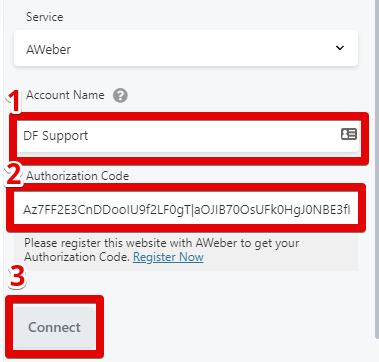
5) Fill out the service details provided by your autoresponder and click connect. You'll now need to provide your autoresponder details to allow us to link to them.
Account Name
This can be any name you can easily identify (important if you have multiple accounts using the same autoresponder)
Authorization Code
You need to register your Site to AWeber to get an authorization code. Click on "Register Now" to get this code.
5) You need to log in to your AWeber account to get the authorization code.
It will say BeaverBuilder that's normal.
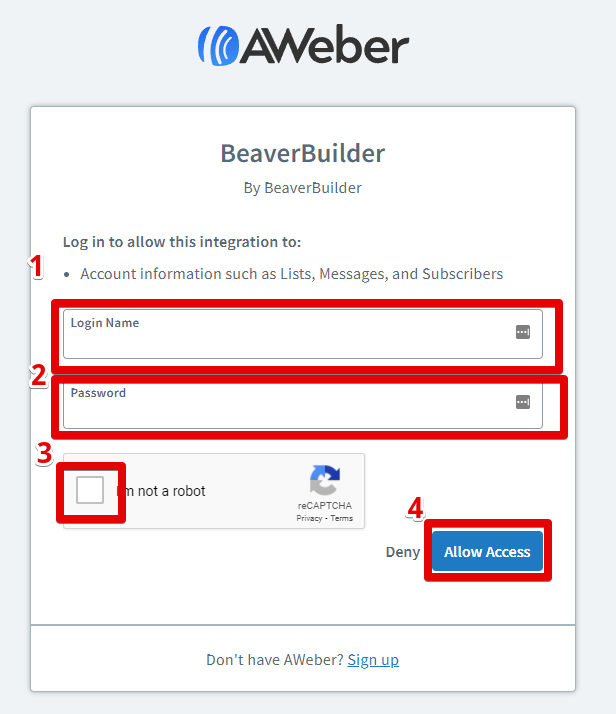
Once you logged in to your AWeber account and press "Allow Access" you will be redirected to your authorization code. You just need to copy the code and paste it on your DropFunnels Opt-in module.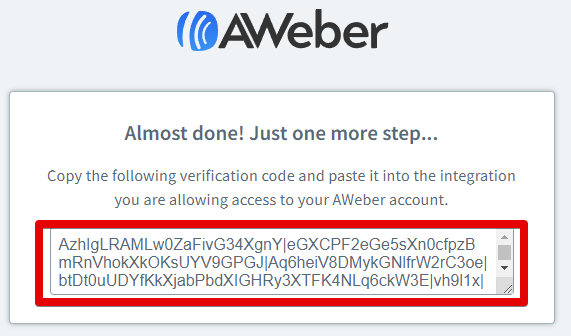
6) Fill out the information (see step 5) and click "Connect".
7) Once connected it should look like the image below.
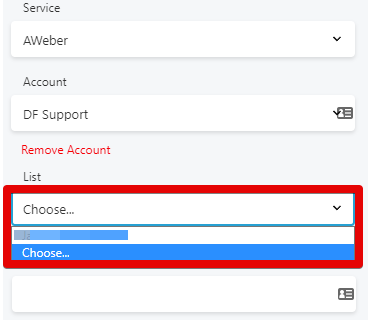
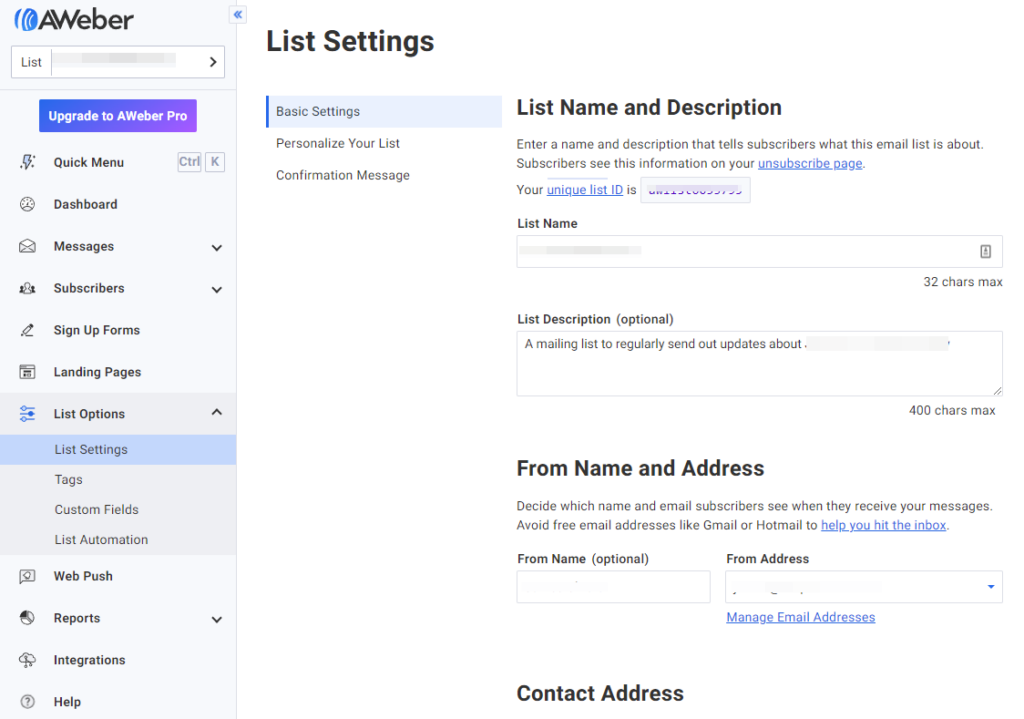
You will be then asked to select a list from AWeber. If you haven't set up a list you can modify it on AWeber Dashboard > List Options > Basic Settings. See the image below.
These are options that you'll set up so that any leads being placed into your autoresponder are set into the right section with the right tags to send out emails.
Click Save once you are done and your autoresponder is now set up, each of your leads will now send over to your autoresponder.
Learn how to quickly integrate your email autoresponder in DropFunnels by simply placing an Optin form on your page.